How to Book an RV Campsite: Step-by-Step Guide
Updated for 2026. Learn how to book RV campsites confidently with reservation strategies, timing tips, and booking hacks.
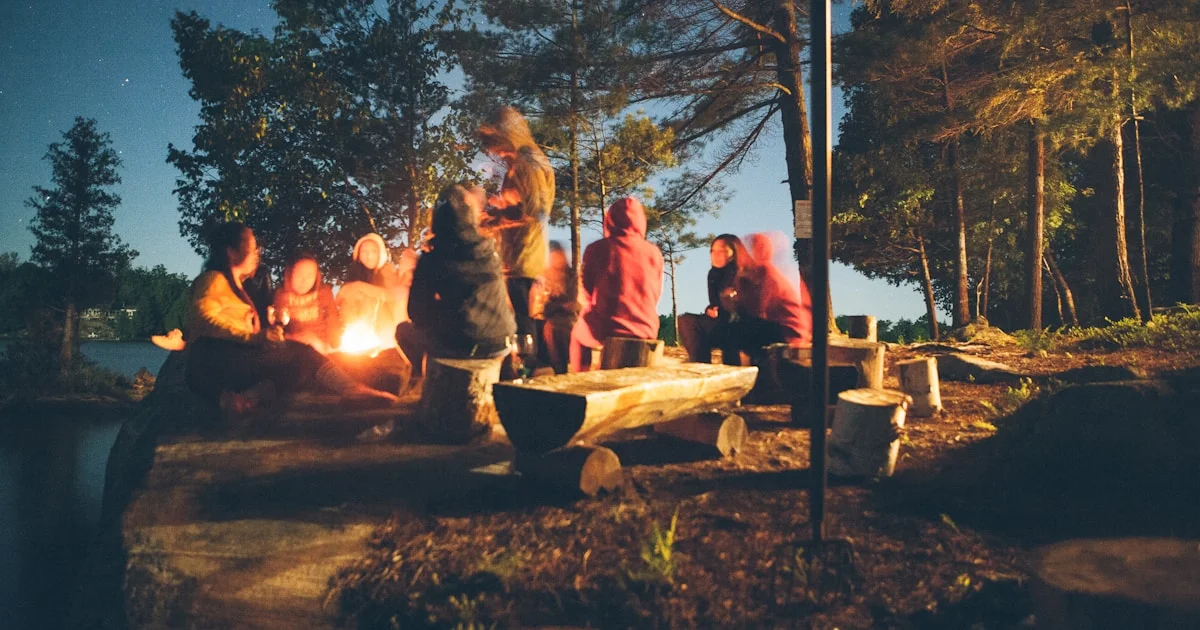
Photo by Oleksandr P on Unsplash
Booking your first campsite looks simple until a mistake leaves you with a site too small, too sloped, or missing the hookups you expected. Campground websites, reservation windows, and site details vary so much that what works for one park fails at the next. This walks through the process start to finish.
Photo by Oleksandr P on Unsplash
Step 1: Know Your RV Details (Non-Negotiable)
These numbers appear on nearly every reservation form. Get them before you open a booking site:
- Total length including hitch, bumpers, and bike rack. A 30-foot Class C is often 32–33 feet on paper.
- Total height including air conditioner and antennas. Matters for covered sites and low branches.
- Required electric: 30-amp or 50-amp. A 50-amp rig cannot use a 30-amp pedestal without an adapter, and vice versa.
- Number of slide-outs and width with slides out.
Keep them in your phone. The single most common error is booking by “30 feet” and forgetting the hitch, then not fitting the pad.
Step 2: Pick the Right Booking Channel
- Recreation.gov — national park and many federal campgrounds. Set a reminder for the 6-month release window; popular sites sell out in minutes.
- Reserve America — state parks and Army Corps of Engineers lakes.
- State park websites — some states run their own system (e.g., reservecalifornia.com, texasstateparks.org).
- KOA.com and private-park sites — direct booking, often cheaper than aggregators.
- Campendium / The Dyrt — discovery and reviews; book through the park’s own link.
For free dispersed camping, there is no booking — see our cheap campsites guide.
Step 3: Read the Site Description
A listing that says “fits 35 ft” assumes you measured correctly. Look for:
- Pad type: gravel, asphalt, or dirt (dirt gets muddy).
- Slope: request “level” if you see “sloped” — leveling a big rig on a hill is no fun.
- Hookups: “full” = water/sewer/electric; “partial” usually drops sewer; “none” = dry.
- Shade, privacy, and proximity to restrooms if those matter to you.
- Generator rules and quiet hours.
Step 4: Time the Reservation
- Near national parks: book the day the window opens, 6 months out.
- State and private parks: 2–8 weeks ahead.
- Holiday weekends: earlier, and expect premium pricing.
- Shoulder season (spring/fall): walk-up and same-week availability is common.
Step 5: Confirm and Save
After booking, screenshot the confirmation, the gate code, check-in/check-out times, and the cancellation policy. Note whether check-in is a physical office (with hours) or a self-service post. Arriving after the office closes without the code is a familiar first-timer headache.
If a Park Is Full
- Look 20–40 miles out — smaller public or private parks often have openings.
- Check adjacent national forests for dispersed sites.
- Use the “alerts” feature on Recreation.gov to grab cancellations.
- Consider a free overnight parking lot (Walmart, Cracker Barrel, truck stops) as a one-night bridge, not a vacation stay.
Quick answers